Archer Sew Along | Day 7 | Attaching the Yoke - Method 1
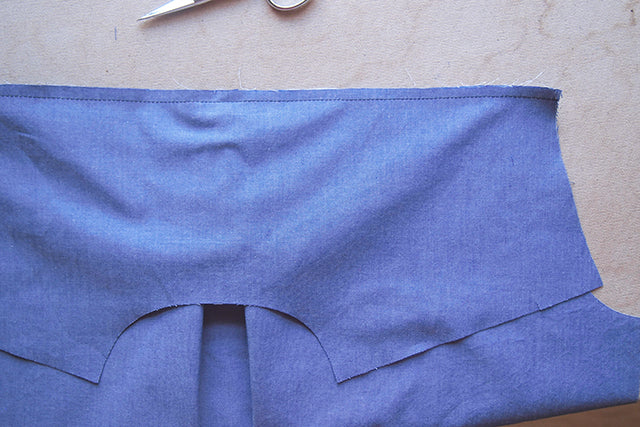
Today I'm going to show you the first of two methods for attaching the yoke. This method is really straightforward and super easy. We're going to start by sewing the inside yoke piece to the shirt back. You're going to want the wrong side of the shirt facing the right side of the yoke piece, then baste together with a 1/4" seam allowance.
Next we're going to attach the outer yoke piece. With the right sides of the yoke and shirt back facing stitch through all three layers. Grade seam allowances.
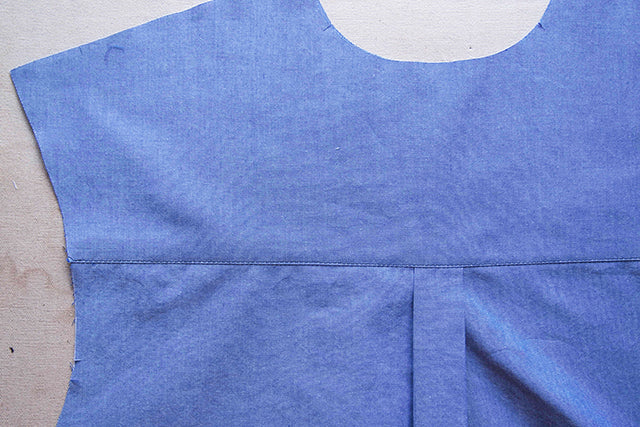
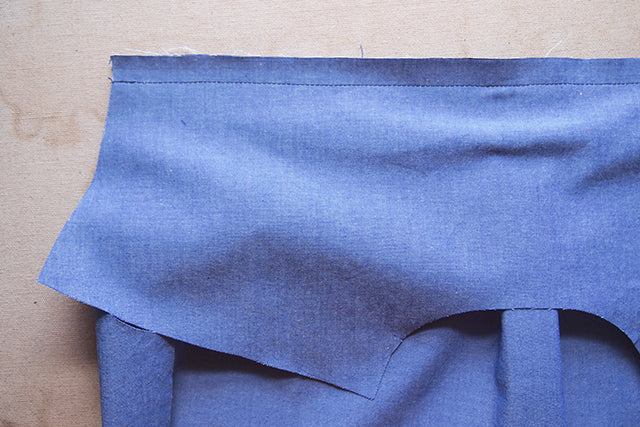
Press both yokes up away from the shirt back and topstitch along the center back seam.
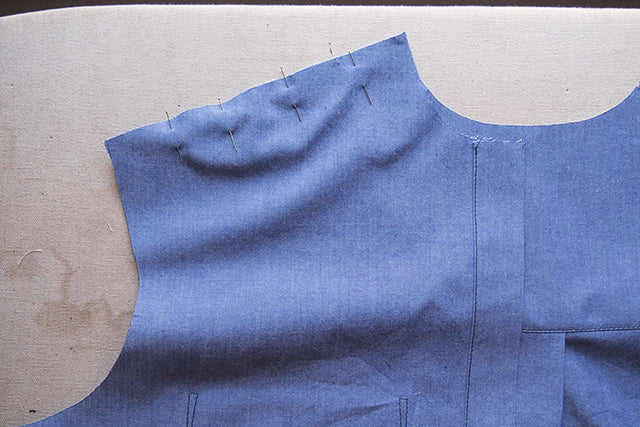
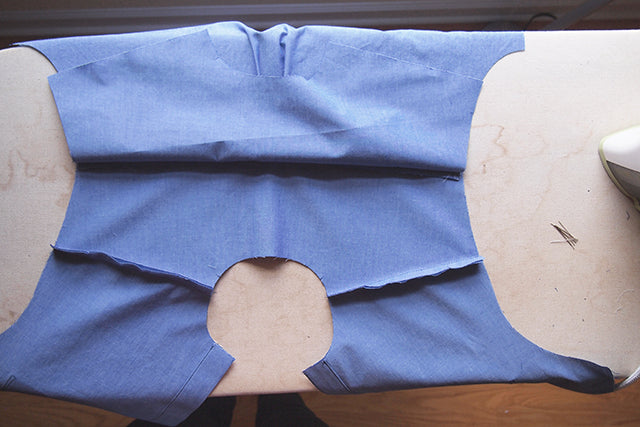
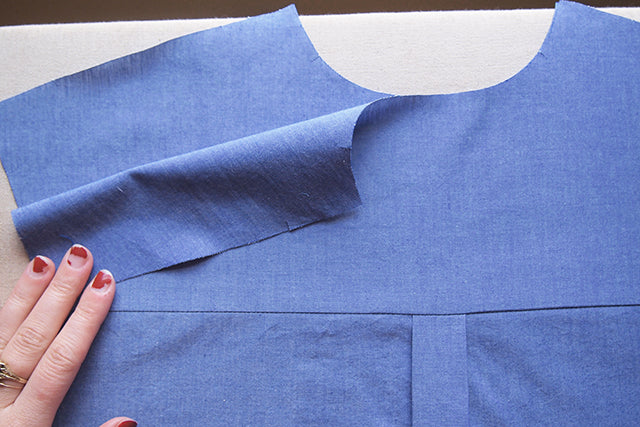
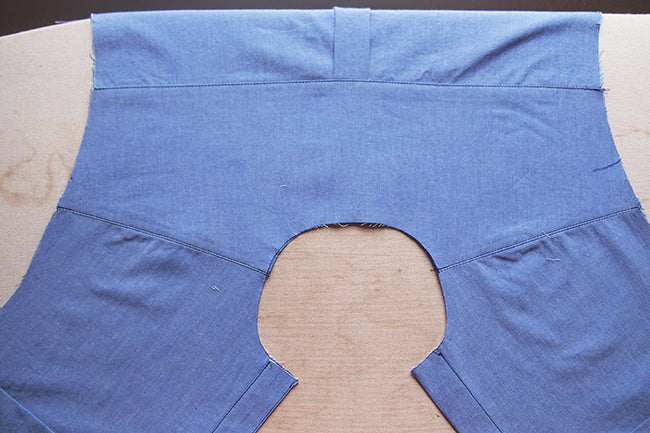
Pin the center front pieces to the outer yoke with right sides together and stitch. You'll now have something that looks like this.
Grade the yoke seam allowance and press seam towards yoke.
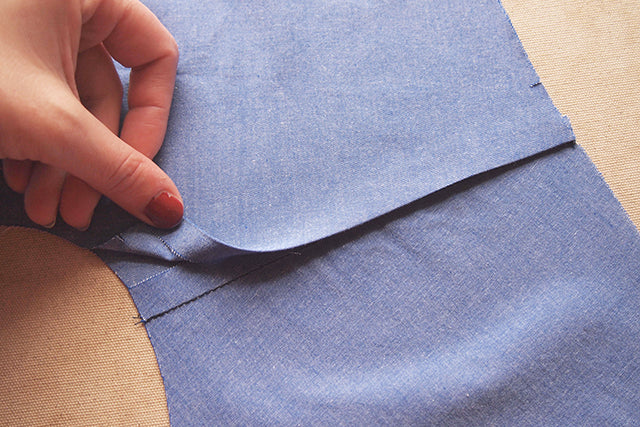
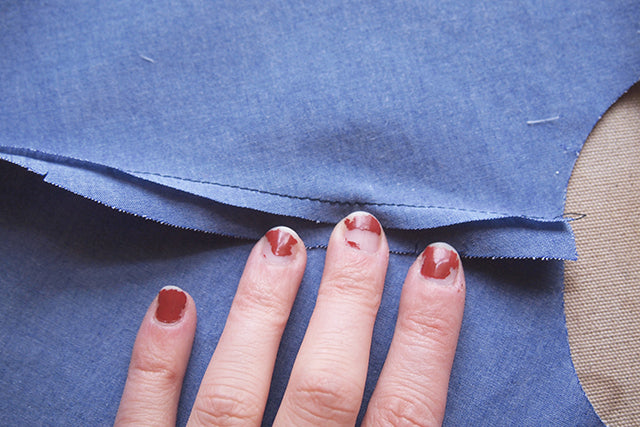
Fold under the seam allowance of the inside yoke and press. When doing this, much like the button band, I like to make sure the folded edge overlaps the seam line by a hair so that when I stitch from the front it catches all layers neatly.
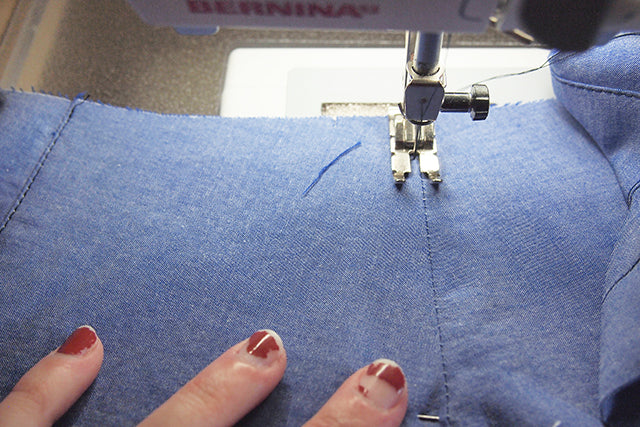
Topstitch along the yoke seam you just folded to anchor down the inside yoke. I stitched at 1/16" but you can do whatever your comfortable with, just remember that you're also attaching the inside yoke so you don't want to go too far from the seam line.
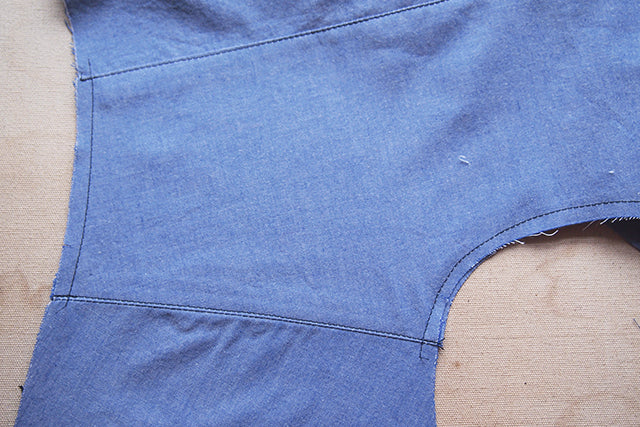
Stitch the two layers of the yoke together in the seam allowance along the neck and armhole edges and you're done! Stay tuned tomorrow for the other method for attaching your yoke.