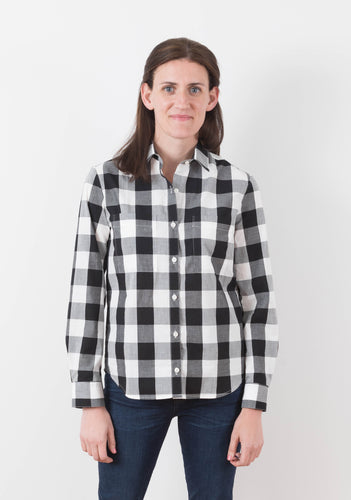
Archer Sew Along Cutting the Fabric
Alright day 2 of the sew along and we're going to cut our fabric, but really quickly before we start, I had some questions about the sew along schedule. I've never hosted or partaken in one of these suckers before so pardon me for not addressing that. My plan is to post Monday + Tuesday, Wednesday off for catchup, then Thursday + Friday with the weekend for catching up as well. I've got everything broken down into digestible tidbits so hopefully it's easy to follow along without too much homework.
Okay, now back to cutting that fabric out!

First you're going to need to gather those cutting supplies. You'll need the following:
- Fabric
- Scissors
- Ruler
- Measuring Tape
- Pins
- Pattern weights
- A marking utensil
- Your cut pattern
- Iron
- Ironing board
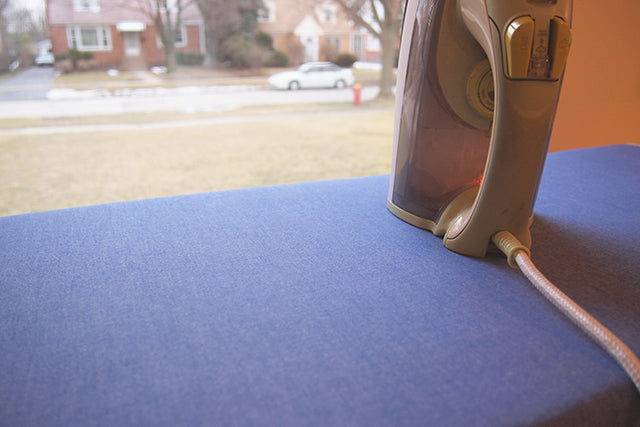
First you're going to want to press your fabric so that everything lays out smoothly with no wrinkled surprises. We're going to be pressing a lot over the course of this sew along so get ready. I think it's one of the most important steps to getting a professional looking finished garment, you've been warned, ha!
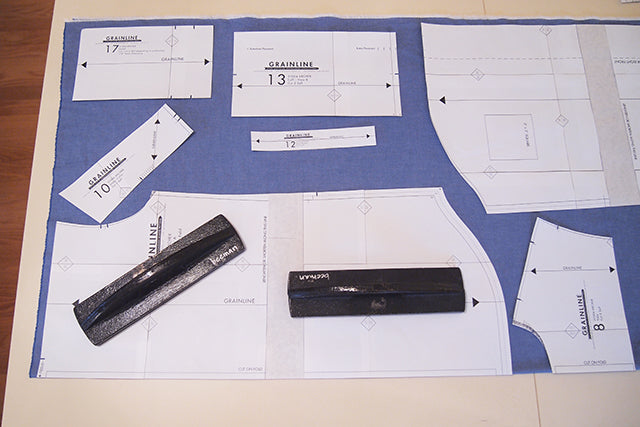
Lay out your fabric and fold in half with selvedges together. Smooth out any lumps or bumps and start laying out your pieces according to the layout diagram found in the instructions. This is where I admit that I never look at those, including the one I made for this pattern, so my layout above may vary from the illustration I gave you. Sorry dudes!

You're going to want to make sure that the grainlines marked on the pattern pieces are aligned with either the folded edge or selvadge so get out those rulers and make sure they're straight.
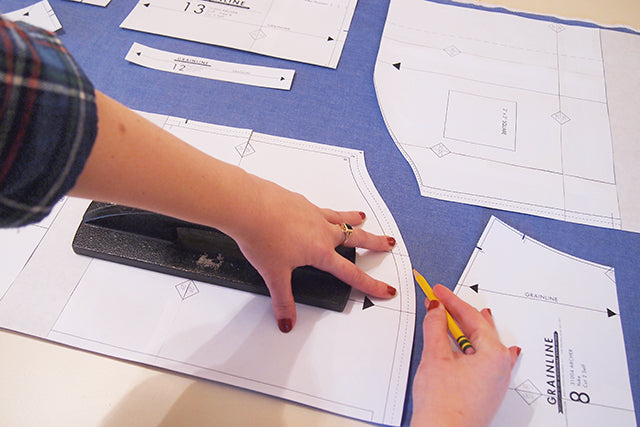
Trace around the pieces using that favorite marking utensil of yours. Above you see good ol' number 2 doing it's thing. When you cut a pattern or fabric you always want to cut off the outside line to avoid pattern growth so you can pretty much use anything that leaves a mark and doesn't bleed. Since you'll be cutting it off nobody will ever know.
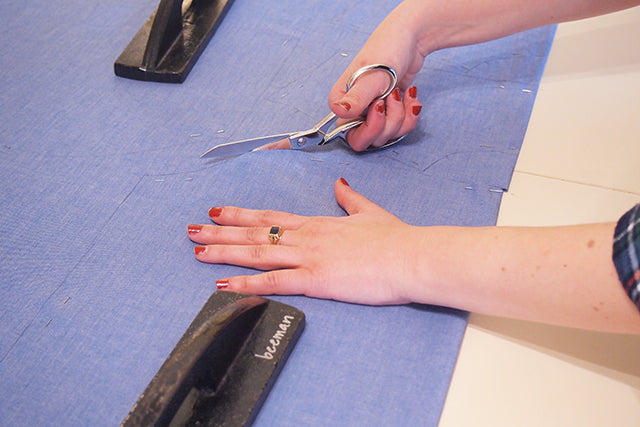
Pin or weight (or in this case for demonstration purposes, both) your fabric pieces and cut them out!
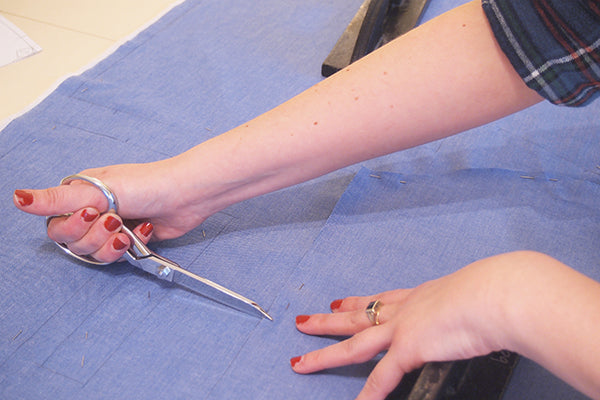
Don't forget to mark your notches. I do a 1/4" clip into the fabric to mark mine but you can do whatever you're comfortable with.

Make sure to mark things like the pocket placement and the sleeve placket opening. I like to cut my sleeve plackets open at this step so I don't have to worry about it later. You'll just cut along the marked line on the pattern. You can also do this later but be sure to mark the start and end of the opening on your fabric now.

The last thing you'll need to do to cut your fabric is trim the CF edge of the right front piece. There's been some discussion over what is right front and what is left front. Right front is the piece that is on the right side of your body while you are wearing it. Women's shirts / blazers / coats / cardigans always close right over left. Anyway, cut or fold along the dotted line on the pattern.
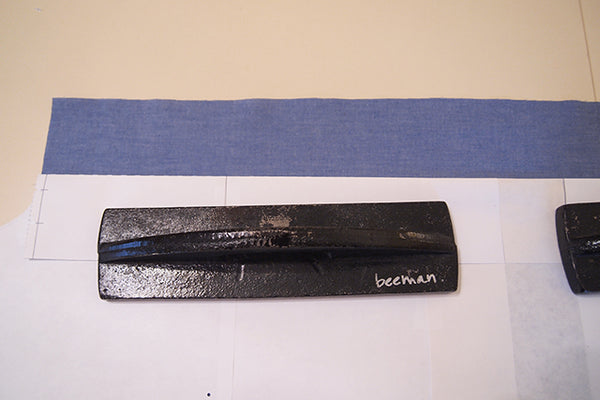
Align this pattern piece with the right front piece you cut and mark the new CF edge.
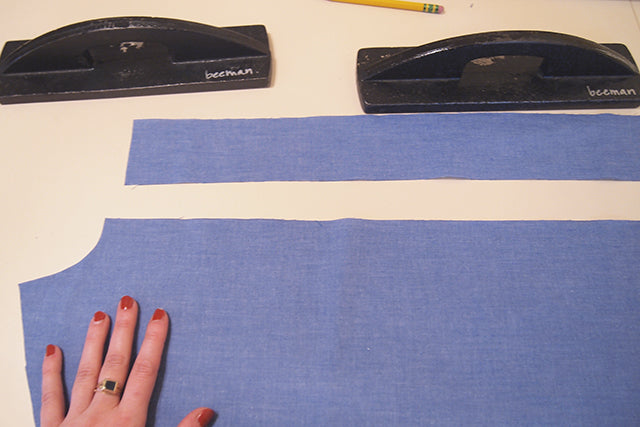
Cut the edge off and discard the extra piece you removed. You don't want to get that piece confused with the actual right front button band since the piece you cut off is 1/2" smaller in width than the actual button band.
If you're making your Archer out of silk or another type of slippery fabric I have a tutorial on cutting silk fabric between paper here that you may want to reference, it's how I cut all my silk. By using this method you eliminate the tendency of the silk to slip this way and that and can cut on grain much easier. This will also make it easier to sew later on because a lot of the difficulty people have with sewing silk can be attributed to the fabric not being cut on the proper grain, or the two pieces you are sewing together being cut off grain in relation to each other.
If you're making a plaid Archer, Amy has a really great plaid series on her blog. There wasn't a lot I could add to cutting plaid that she didn't already say so check out what she has to say about that. We'll also need to cut our interfacing but we'll talk about that on Thursday when we cut and fuse our pieces. If you have any questions on cutting your fabric, matching plaids, cutting silk, my favorite tea or my Wednesday plans let me know in the comments below. Just kidding about those last two. My favorite tea is David's Pure Chai and Wednesday I'm working on more sew along posts, DUH!!