Alternate Archer Pocket

Sorry this took so long guys, it's been a wild and crazy week. I turned 31 on Saturday and ooh boy it was an odd feeling. Anyway, I'm back and ready to show you how to make the pocket I used on my Sleeveless Archer. In order to make this pocket the way I did with the triangle folding over to the outside of the pocket, you need to have a fabric that is the same on both sides since the wrong side of the pocket will be facing out on that part. With that, here we go!
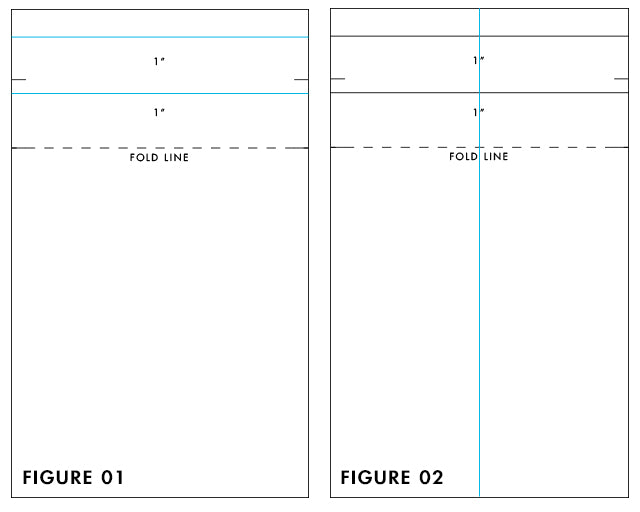
Figure 01 | Start with your Archer pocket and draw a line across the fold line. This is the bottom pair of notches. Draw another line 1" up from the fold line, then another line 1" up from the line you just drew.
Figure 02| Find and mark the center of the pocket.

Figure 03 | Draw a line from the side bottom of the first line you drew up to the center of the top line, then back down to the other side of the bottom line. This marks the shape of the triangle.
Figure 04 | Add your seam allowance, I used 1/4" to reduce bulk. The seam isn't bearing any weight so you don't need to worry about leaving a lot here.

Figure 05 | This is what you're left with after you've made all the above marks and cut your new pocket pattern out.
Figure 06 | Fold the seam allowance under and the pocket flap to the front of the pocket. Stitch in place as close to the edge as you feel comfortable. I stitched at approximately 1/16" on my pockets. Then attach your pockets according to the instructions in the Archer pattern. That's it! As always, if you have any questions just leave me a note. L8tr dudes.